Correct Virtual Host configurations are very important, especially when working with frameworks such as Laravel and Symfony, which are constantly evolving.
If you don't want to read the introduction, you can jump straight to the installation process from here.
When working with multiple versions, a simple switch operation to switch between them will provide significant benefits. Although working with Docker to simulate the server environment reduces compatibility issues, it does reduce mobility. Those who work on a lot of short-term tasks will find this difficult. A LAMP stack may be the more convenient method to spend a lot of time with docker configurations and work with php-heavy on your PC that has become a docker dump.
First, let's briefly talk about what LAMP is for beginners.
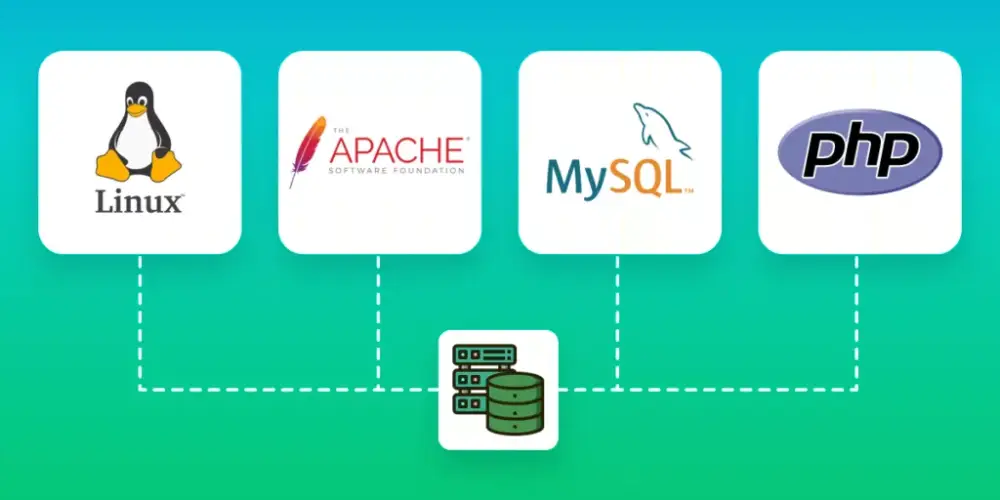
The LAMP stack is a web server that includes major extensions including Linux, Apache, MySQL, and PHP. This expansion covers the fundamental parts required for the web server to function, such as the operating system, web server, database, and programming language. The operating system is Linux, which provides a robust kernel and a big user community for running a wide range of applications.
Apache is a web server that is intended to process HTTP requests. MySQL is a database that may be used to store and manage data. PHP is a computer language that allows for the dynamic construction of web applications.
One of the most significant benefits of the LAMP stack is that it is free and open source. This allows users to do free operations like installation, configuration, and maintenance.
APACHE2 Installation
First, let's update our Ubuntu repositories and get Apache up and running. Users of various distributions can modify such programs to suit their needs.
For example for Fedora : dnf check-update && dnf upgrade -y
sudo apt-get update && apt-get upgrade -y
sudo apt install apache2
Now let's set the UFW settings and allow port 80 to exit for Apache.
UFW is a simple to install and use firewall for the Ubuntu operating system. UFW stands for Uncomplicated Firewall. The wall is used to regulate network entry and egress traffic. (?)
sudo ufw app listThe installation choices are shown here. Apache simply supports port 80, Apache Full supports ports 80 and 443, and Apache Secure supports just port 443. Port 80 is for unencrypted http communication, while port 443 is for https traffic encrypted with TLS/SSL.
From here, we choose Apache Full as we will likely need to work with https;
sudo ufw allow in "Apache Full"When the process is complete, you should see that you are accessing the Default Apache page from http://127.0.0.1, which means "me" for your computer. If there is no problem so far, we can continue.
MYSQL Installation
Let's install the Mysql Server package from the repository
sudo apt install mysql-serverLet us now create a password for the MySQL server.
If password validation is enabled, we deactivate it using the numbers below.
Mysql users will then be listed. The password field for root is empty in this case.
sudo mysql
UNINSTALL COMPONENT "file://component_validate_password";
SELECT user,authentication_string,plugin,host FROM mysql.user;
Now let's change this to the password we want. You can write a simple password in the section that says your_password. There is no need for a specific password as it will be in your local;
ALTER USER 'root'@'localhost' IDENTIFIED WITH mysql_native_password BY 'your_password';
FLUSH PRIVILEGES;
exit
PHP Installation
Let's install the most recent version of PHP with the Apache and MySQL packages;
sudo apt install php libapache2-mod-php php-mysqlNote the version here eg: php8.2
Now we'll have to pretend to install it manually because we'll need to switch for projects that support older php versions.
sudo apt install php8.2We will use the ondrej repository to download older PHP versions;
sudo apt install software-properties-common
sudo add-apt-repository ppa:ondrej/php
sudo apt-get update

sudo apt install php5.6  && sudo apt install php7.4 && sudo apt install php7.1  -y
Usually the top three php versions will be enough for you to test older versions. You can also download php7.0 & php7.2 && php7.3 if you need more.
Let's install the php packages you may need;
sudo apt install php8.2-common php-bz2 php-curl php-gd php-imagick php-intl php-json php-json-schema php-log php-mbstring php-memcache php-memcached php-mime-type php-mongodb php-mysql php-net-socket php-net-whois php-parser php-readline php-redis php-soap php-tokenizer php-yaml php-zip php8.2-bcmath php8.2-bz2 php8.2-common php8.2-curl php8.2-gd php8.2-xml php8.2-zip php8.2-xmlrpc php8.2-cli libphp8.2-embed php8.2-fpm php8.2-cgi php8.2-phpdbg libapache2-mod-php php-mysql php8.2-mbstring -y If you replace the 8.2 version here with 7.4 with CTRL+H in a file, you will also add the packages of the relevant version.
To install more packages, you can list and select package names from;
apt search php- | lessNow let's do the general settings;
sudo nano /etc/apache2/mods-enabled/dir.conf
 # change to : index.php index.html ..
Open the file and add index.php just before index.html.
Then run the following code for .htaccess files and multibyte character support;
sudo a2enmod rewrite && phpenmod mbstringWe need to do a few more operations for htaccess. Let's open our apache2.conf file with the following command;
sudo nano /etc/apache2/apache2.confLet's change the AllowOverride setting to All;
<Directory /var/www/>
	Options Indexes FollowSymLinks
	# AllowOverride None
	AllowOverride All
	Require all granted
</Directory>
Let's Create a Virtual Host
Let's say you have the domain ugurakcil.com. In this case, you should change the sections that say your_domain below to ugurakcil;
sudo mkdir /var/www/your_domainSet ownership status of folders (and subfolders);
sudo chown -R $USER:$USER /var/www/your_domainChange access restrictions for folders (and subfolders);
sudo chmod -R 755 /var/www/your_domainIdentify the Virtual Host file;
sudo nano /etc/apache2/sites-available/your_domain.my.confChange your_domains to the file you opened and add the following configurations;
<VirtualHost *:80>
    ServerAdmin webmaster@localhost
    ServerName your_domain.my
    ServerAlias www.your_domain.my
    DocumentRoot /var/www/your_domain
    ErrorLog ${APACHE_LOG_DIR}/error.log
    CustomLog ${APACHE_LOG_DIR}/access.log combined
</VirtualHost>
Then let's include the configurations in apache;
sudo a2ensite your_domain.my.confYou can use sudo apache2ctl configtest to check if you made any syntax errors. Syntax: If it says OK, nothing to worry about. However, you will see a warning message;
AH00558: apache2: Could not reliably determine the server's fully qualified domain name, using 127.0.1.1. Set the 'ServerName' directive globally to suppress this message
To get rid of this problem;
sudo echo "ServerName 127.0.0.1" >> /etc/apache2/apache2.confOf course, we also need to edit our /etc/hosts file so that our website address goes to 127.0.0.1;
After opening the file with sudo nano /etc/hosts > 127.0.0.1 your_domain.my can be added as a new line at the bottom. Or you can directly print to the hosts file with the following command;
echo "127.0.0.1 your_domain.my" >> /etc/hosts
systemctl restart apache2
Now test your_domain.my from the browser by creating an index.php to the directory you point the domain to.
PHPMyAdmin Installation
sudo apt install gettext
sudo apt install phpmyadmin php-mbstring -y
On the installation screens, enter root in the username section and the password you previously set for mysql in the password section. If you receive a password error, repeat the procedures with the retry option and check. You can skip all of the other parts by selecting yes and the first selections.
Language setup may be required for the language you are now using. For example, the following command will give media language support for Turkish;
locale-gen tr_TR.UTF-8Let's create a shortcut to PHPMyAdmin configurations apache
sudo ln -s /etc/phpmyadmin/apache.conf /etc/apache2/conf-available/phpmyadmin.conf
sudo a2enconf phpmyadmin
sudo systemctl restart apaache2
you should now be able to access phpmyadmin by typing 127.0.0.1/phpmyadmin from your browser
Changing PHP Version
The following codes can be modified and executed to alter the PHP version.
For example, to activate PHP 5.6;
sudo update-alternatives --set php /usr/bin/php5.6
sudo 2dismod php8.2
sudo a2enmod php5.6
sudo service apache2 restart
If you want to revert back to PHP 8.2;
sudo update-alternatives --set php /usr/bin/php8.2
sudo 2dismod php5.6
sudo a2enmod php8.2
sudo service apache2 restart
